Cinni's Furcadia Corner
Furcadia Dream Tutorial for Beginners
Part One: Basics
To get started with making dreams in Furcadia, you’ll need to be familiar with the Dream Editor. The program can be launched from the desktop client under your “C Tab” or can be found in your C:/Program Files/Furcadia folder. There is a lot you can do with dreams, but first we will cover the basics of map designing. Dreams can be made interactive and immersive with Dragonspeak (Furcadia’s scripting language), sound, and custom assets, which will be covered at a later point.
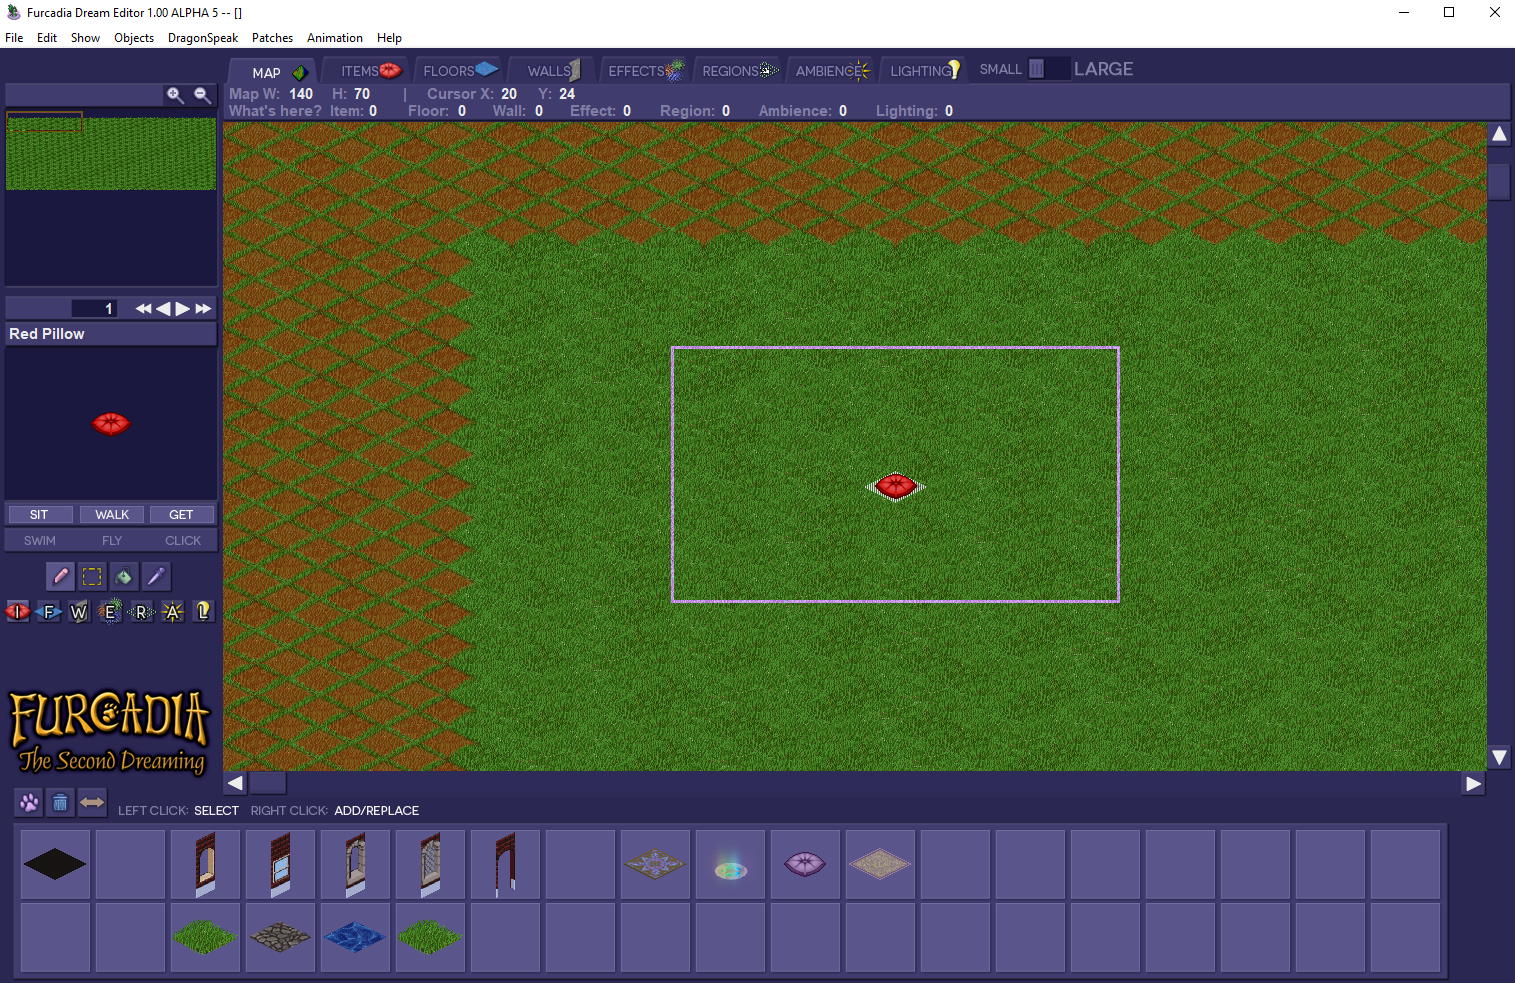
When creating a new dream, you will be presented with a screen like this. A dream map is made up of isometric tiles, each with an X and Y coordinate. Each tile can have up to 7 separate layers of different types of assets, or patches - items, floors, walls, effects, regions, ambience, and lighting. Each type of patch has its own properties, and some are only useful with Dragonspeak, like regions (which are the only non-patchable layer). Your patches can be viewed in the top tabs.
The size of the map can be adjusted under the Edit menu, or by using hotkeys:
Make Dream Shorter: Ctrl+T
Make Dream Taller: Ctrl+Y
Make Dream Skinnier: Ctrl+F
Make Dream Wider: Ctrl+G
However, please note! The size limit for a standard dream is 208x200 tiles, in order to increase your dream size you will need to pay for a dream package from the Digo Market I find the standard size limit more than enough for most dreams, and there are ways to maximize your map space with regions. Another important thing to note is that the borders of dreams cannot be walked on, which are designated in red in the dream editor. This feature can be toggled under the top menu in Show > Walking Borders.
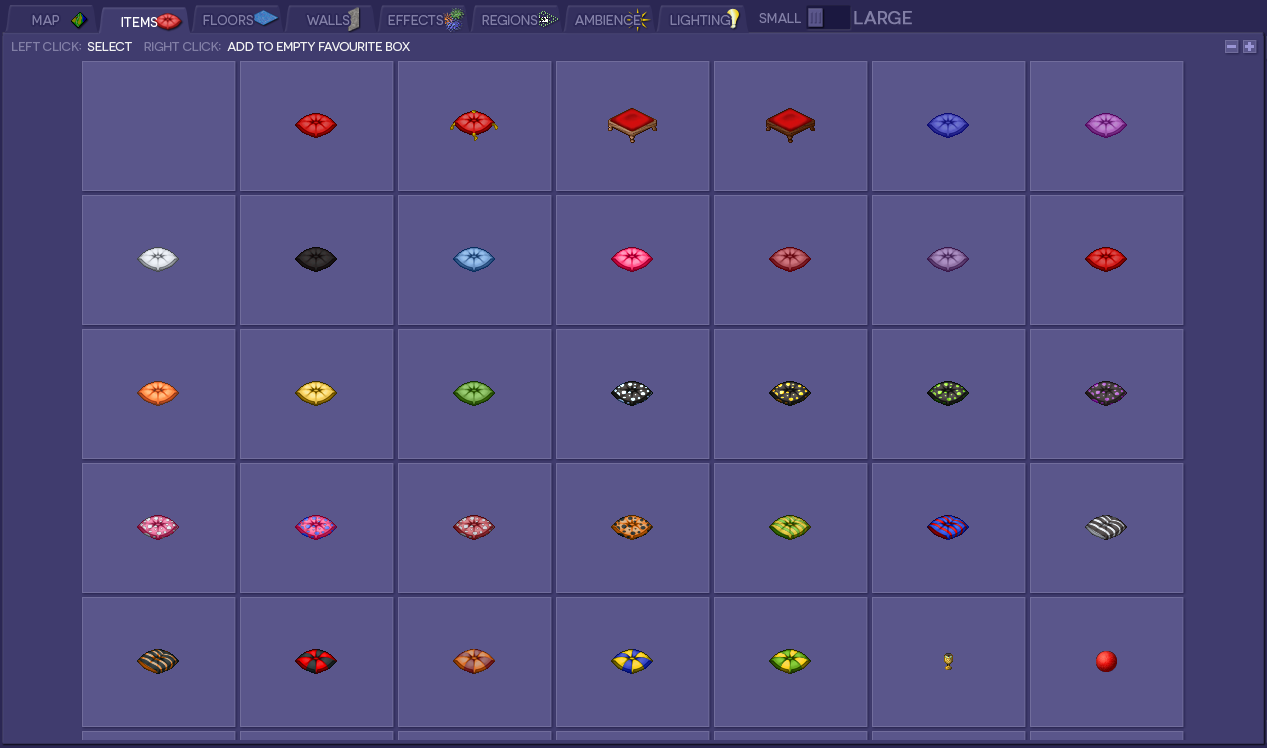
To get started, I suggest browsing through the catalogue of available patches Furcadia already provides in the tabs on top. First are items, which are very useful types of objects. Items can be walkable or non-walkable, sittable, gettable (meaning you can pick it up and hold it in your paws), or kickable (they bounce around like a ball when touched).
Items, like all patches, can be animated too. Each patch is also assigned an ID number and can optionally be named (which appears in the left side of the editor when selected). The properties of the selected item will be highlighted.
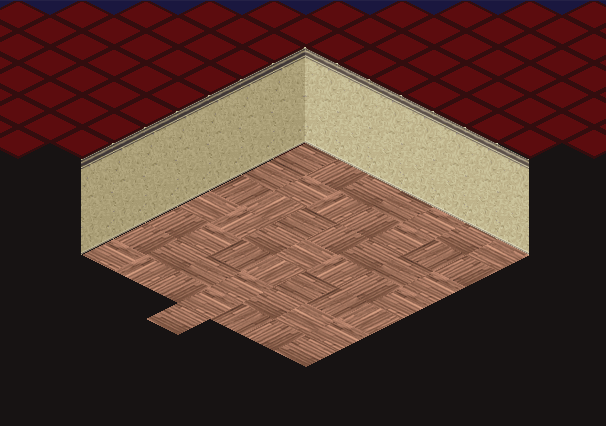
Floors similarly can be walkable or unwalkable, and can also be set to be walkable by only certain types of avatars like flying or swimming avatars. Every tile in your dream must have a floor patch occupying it, unless you want to have weird, glitchy effects! (This typically only happens if you apply a custom floor patch that gets deleted later on). The default floor tile, floor 0, is unique in that the grass tile will always appear randomized. There are other floor tiles that appear randomized too, like floor 32 (Dark Wood Floor), floor 40 (Light Wood Floor), and floor 132 (Animated Water).

Walls work similarly in that they can be passable or not. Walls are placed on edges between tiles, so each tile can have a wall on all 4 sides.

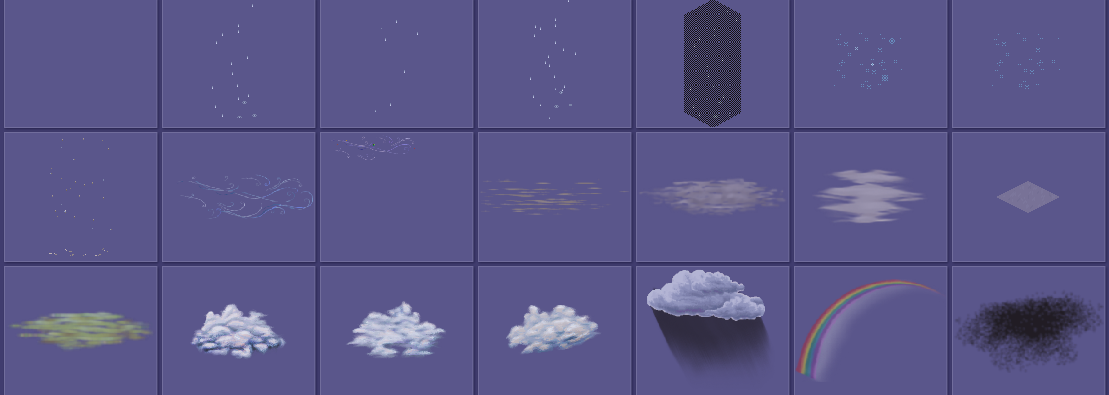
Effects can be used to effectively layer your patches and save up item space for special effects like weather and more. Effects are different from items in that they are always passable, cannot be picked up, and are usually layered above the player.
For this tutorial we won’t be worried about Regions, but these tiles are used in tandem with Dragonspeak. In a live dream regions are invisible, and can be toggled on/off in the editor under Show > Regions.

Ambience is a transparent layer that gives an area a color overlay. Ambience can be used with lighting in order to create night time scenes with areas lit up by candle light. Ambience 5 is a day and night cycle that takes about 30 minutes to complete and is an easy way to create the passage of time. (As an aside, animations in dreams are client-side meaning that anytime someone enters the dream, the day and night cycle will start on frame 0 and not be synced across all furres.)

Lastly, the Lighting tab contains a variety of soft lighting objects that will contrast with the ambience layer. If the ambience is dark, lighting objects will ‘erase’ the overlapping areas and appear bright.

Both lighting and ambience objects can have a different special effect modes like addition, subtraction, multiply, overlay, screen, and so on! The lighting settings are set per-object in the patch editor, while the ambience settings are set across all types of ambience in the dream editor, under Patches > Dream Settings > Ambience mode. The default settings are perfectly fine, but you may want to experiment around!
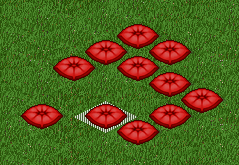
Back to the map tab, you may notice your cursor has a white rectangle around it - that is the your ‘viewing window’ that you will see in-game. Anything outside of this rectangle will not be seen when your player is at that specific tile. You may also notice a red pillow following your cursor around - that will be the current highlighted patch you’re placing. In order to place it on the map, just click where you want it.

Now let’s say you accidentally placed an object where you didn’t want it…
You can simply select a ‘blank’ object to delete it/override any item. You can either right-click on the item you want to copy, (like anywhere on the grass) or use the eyedropper tool (the hotkey is N) on the left menu. You can override any item with another item. Note: CTRL+Z only undo’s one step back, so keep that in mind.

If you want to favorite certain patches you use a lot, you can bookmark them to the bottom menu. With the patch selected, you can either right click to the slot you want or use the paw button on the left side to select a slot. Following the paw button, you can use the trash icon to delete items from you favorites, and use the arrow icon to swap two slots.

Before I forget, you may notice a small/large toggle. It’s worth mentioning that this is a feature that isn’t implemented in Furcadia yet, so we will skip past it.

Part Two: Designing a Home
Just for the sake of getting used to the dream editor, this guide will go through the process of making a simple home dream with a seperate outside and inside area. We will be making very light use of Dragonspeak to bring it all together, and hopefully cover all the basics for a starter dream.
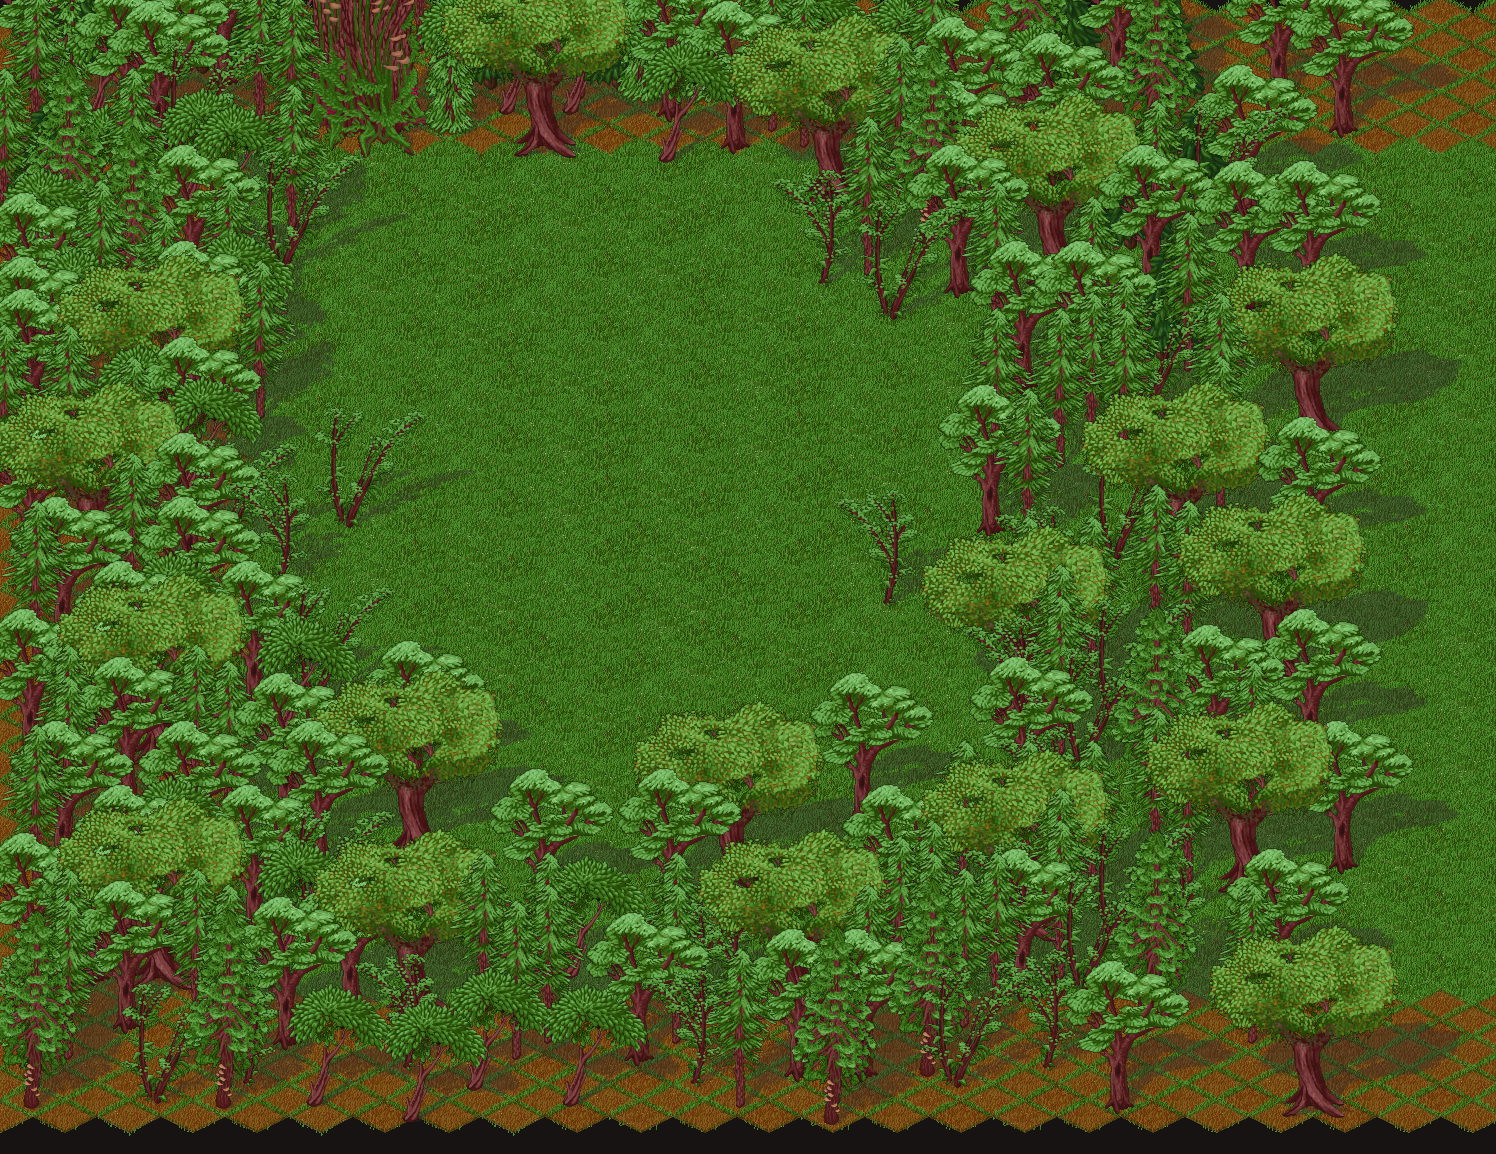
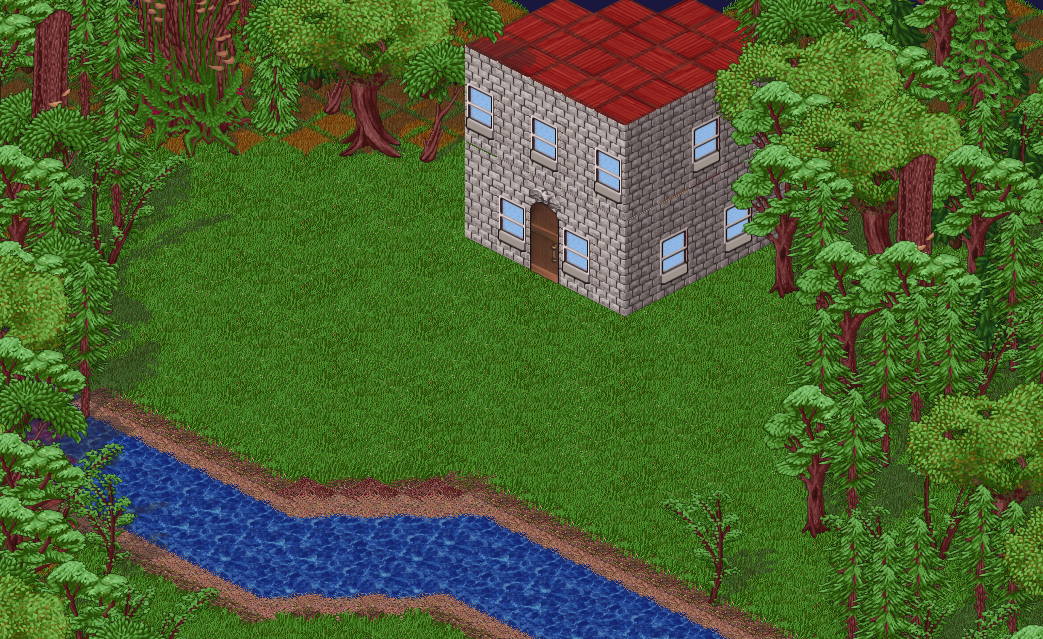
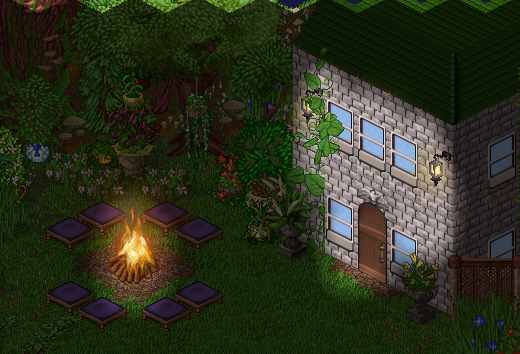
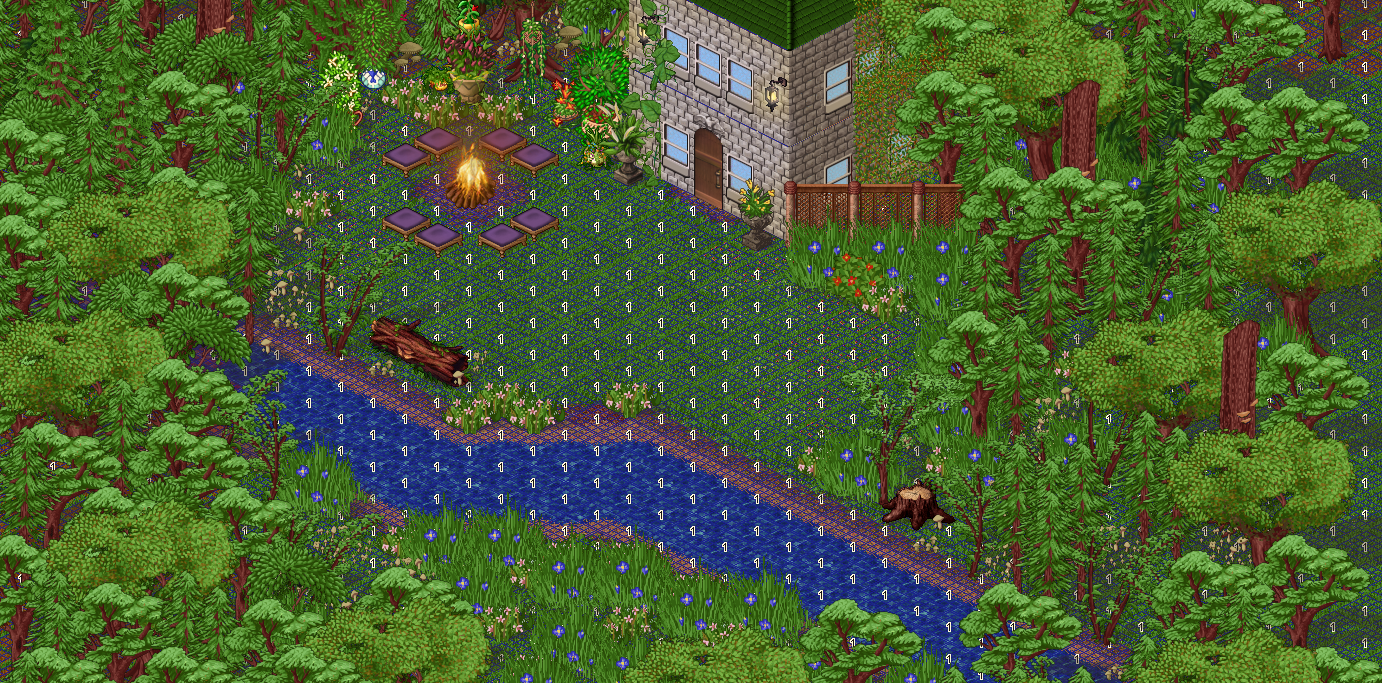
Back to the default starting map, I want to create a small cozy house in the middle of an opening in the forest. Since the borders are unwalkable, I’ll use trees to fill it in and try to create a seamless transition. I like to space out big trees first, then fill in the spaces with smaller trees to keep things varied and feel natural. Because I want the main focus to be the interior of the house, I want to make the outside entrance small and compact, trying to keep in mind the player’s window size. This way it feels more inviting to go inside, rather than making the player walk a long ways to find your house. (Unless that’s your goal!)
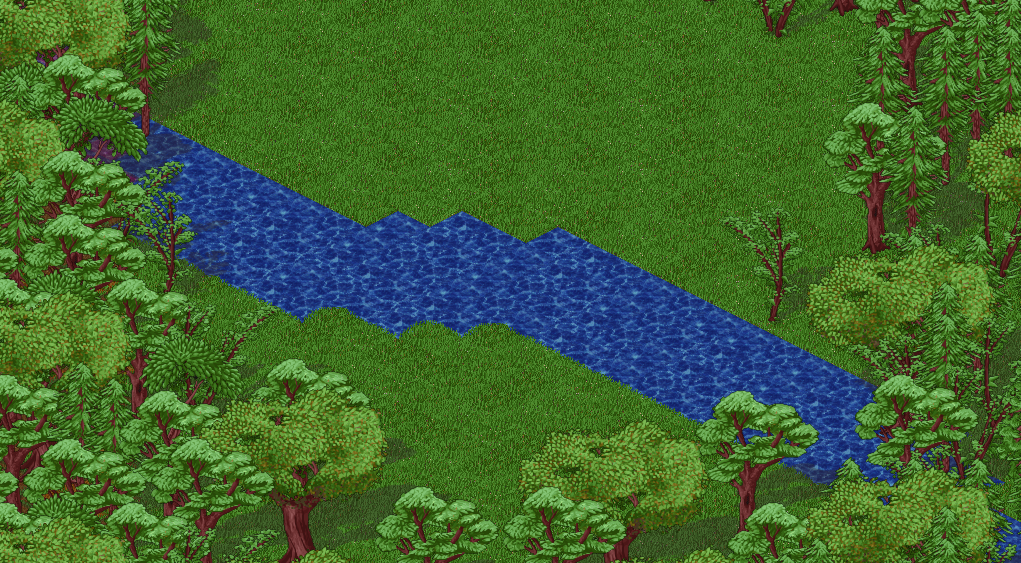
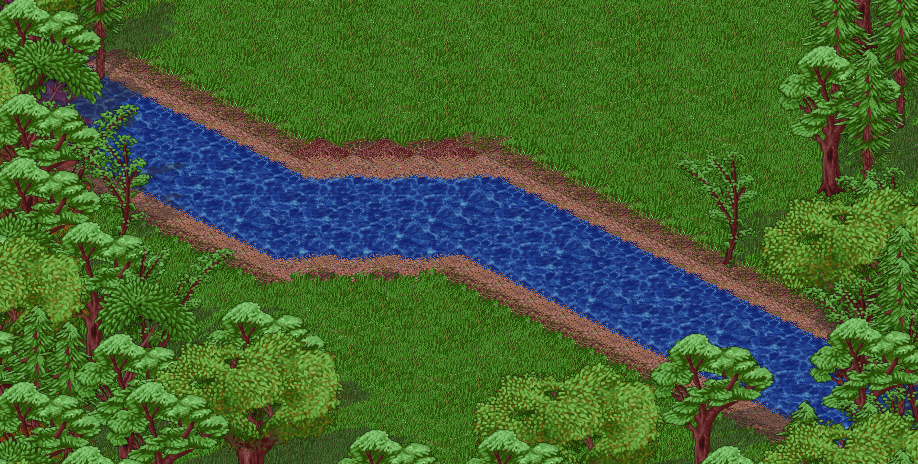
Next… I want to add a stream cutting across the area to add a bit more interest. I first start by placing water tiles (floor 132) near the bottom, making it start and end in the unwalkable areas.
I want the stream to have a bend, but the way it is now feels very harsh. We can smooth it out with some of the provided transitional floor tiles.
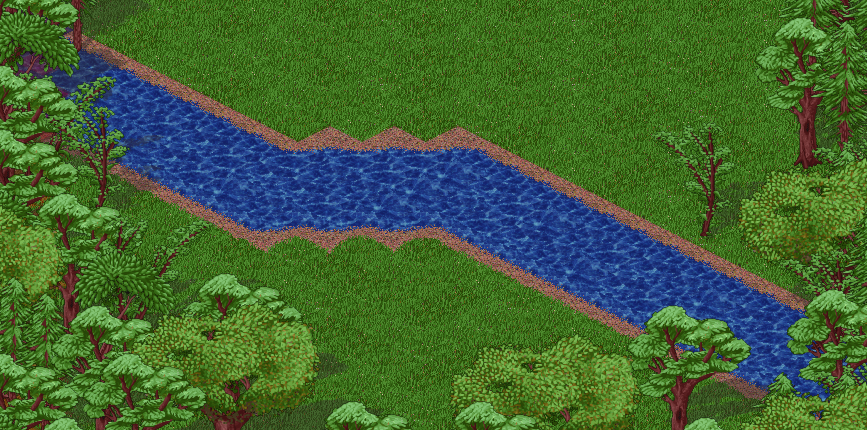
We’ll be left with this, as there is only water-to-sand transition tiles. I want to further smooth out the transitions, so I’ll continue with sand-to-dirt and dirt-to-grass tiles.
Next I want to start building the house. Since part of the house can’t be accessed anyways (like the roof or the back of the house), I stragetically placed the house to the edge of the border. You can give the appearance of a taller building by stacking walls like below. Even though the roof is obscured by the walking border, it will look normal in-game.
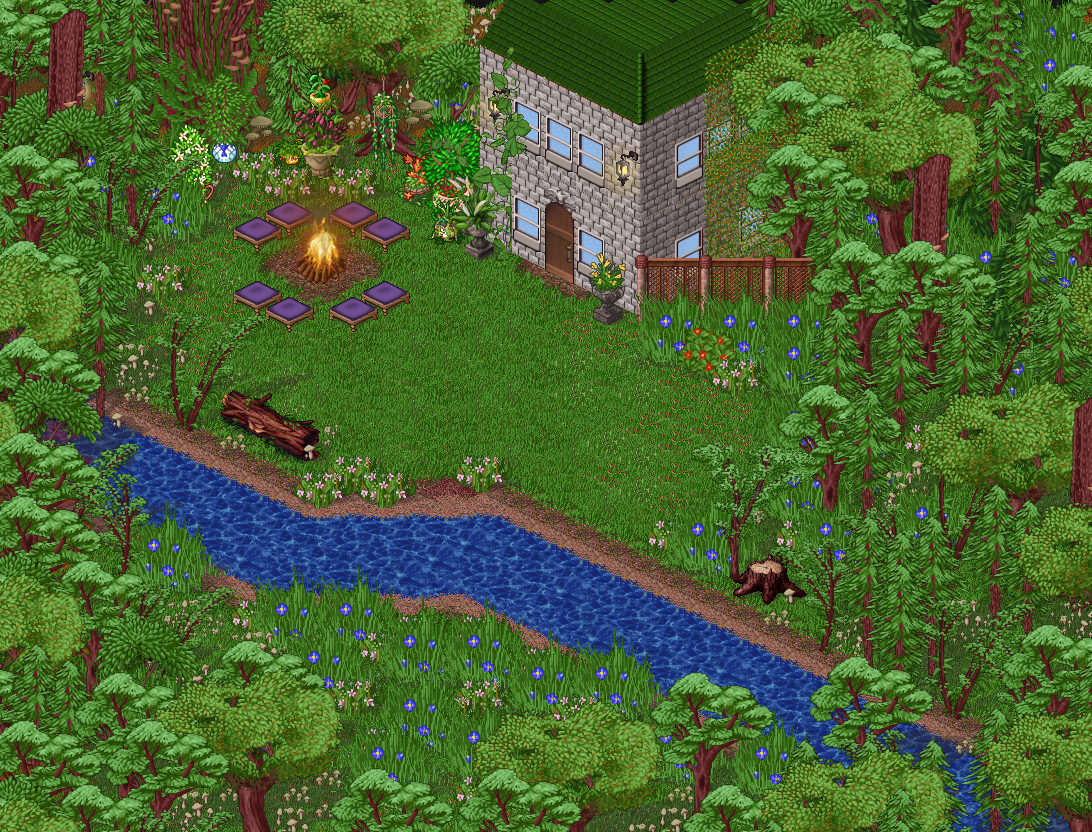
I decided to decorate the area even more and added flowers and tall grass along the trees, and added a few seating areas to help fill in the space. At this point we’re done with the outside and can move on to creating the inside of the building.
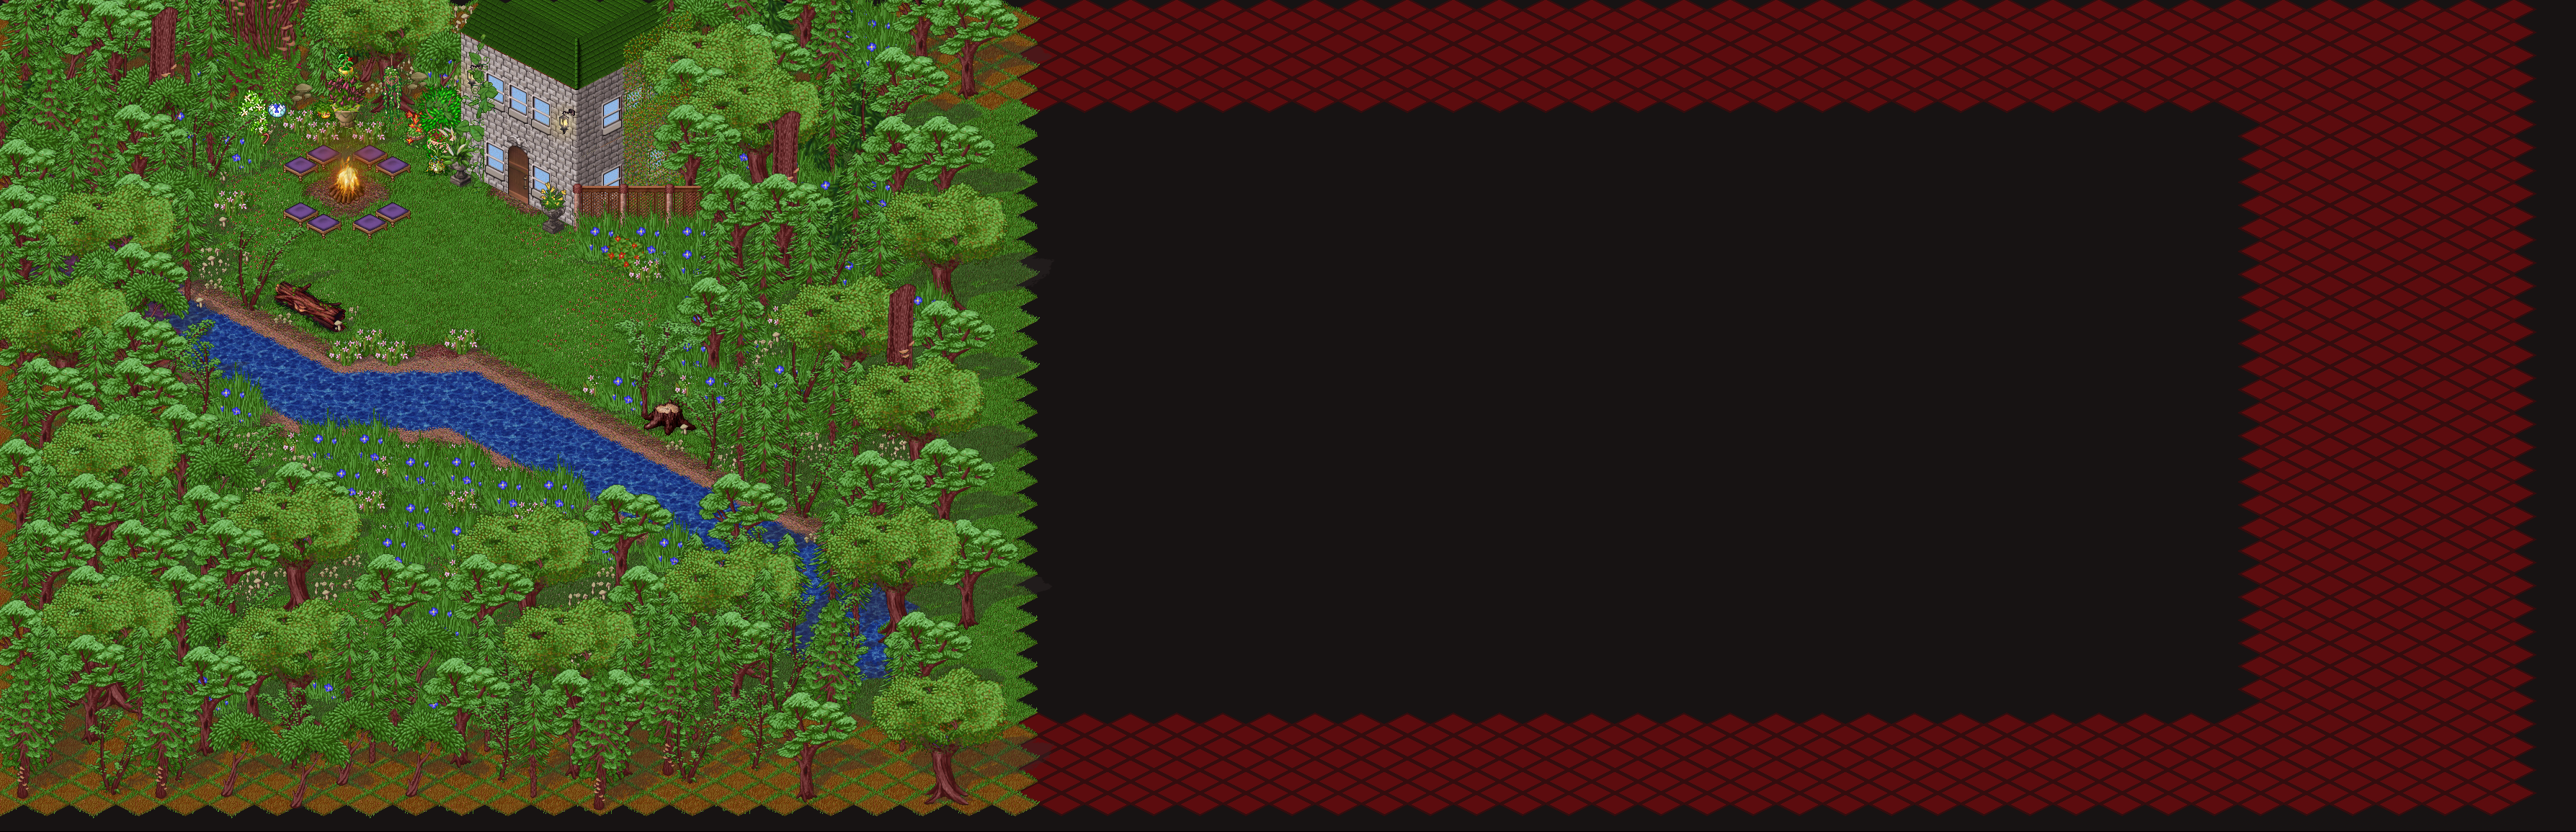
Taking a look at the whole map, I still have plenty of room to use. I used floor 161 to create a non-passable void. When we’ve finished making the interior areas, we can use Dragonspeak to allow the player to travel to different points.
I try to start interiors right at the edge of the border to maximize usable space on the map. I also recommend maintaining the direction of the player as they walk through doors, so if the player is facing NE before they enter, they should be facing NE after they enter.
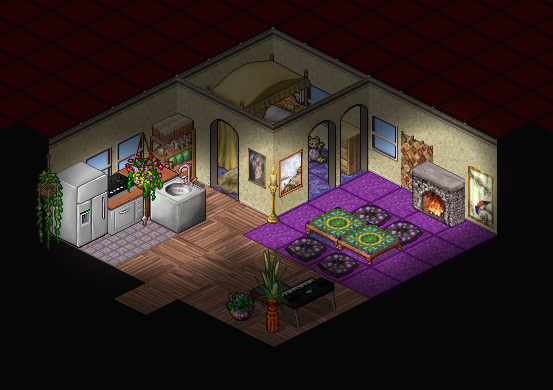
I decided to make a studio apartment in the end and split up the room visually into four corners. For the sake of the tutorial, this is fine enough! When adding more interior spaces to the void, I would keep in mind the player’s view window and make sure to space out each room far enough so it doesn’t break the illusion you’re trying to create. To test this out, place your cursor on each edge of the room and check for any patches ‘bleeding’ through your rectangle.
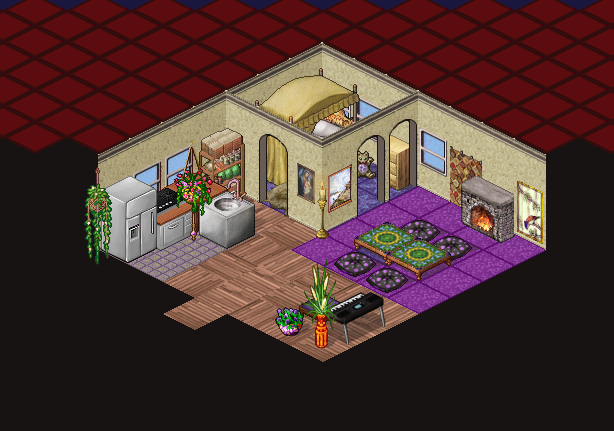
Before we finish with a little programming, let’s add some additional layers to make this dream a bit more lived-in.
We’re going to add ambience 5 across the whole map using the fill tool (the hotkey for this is J or 0) for a day to night cycle. It will be hard to see it at first, so for the sake of placing lighting I recommend temporarily using a dark ambience. Then, in items that can also act as light sources, I use whichever lighting effect I feel works best.
I’m happy with the lighting placement, so I can fill the ambience back to the day-to-night cycle.
Finally, we’ll touch briefly on regions. For this dream, we’re going to use regions to determine where it should rain in our dream. I’m going to place region 1 all over the outside area only.
Part Three: Dragonspeak
For this part we’ll go over some very basic Dragonspeak concepts and some lines of code you can use in any type of dream. For starters, I recommend checking out Furcadia’s guides on Dragonspeak to understand it on a much deeper level than I will cover here. If you’ve never done any type of programming, Dragonspeak is best understood as a series of cause and effects. For example, the first two lines any dream starts with is:

Cause: When a furre arrives in this dream,
Effect: Move them to this coordinate or someplace nearby if it’s occupied.
Dragonspeak is structured in a way that it will always start with a cause and end in an effect. You can add more complex scenarios in between, but Furcadia won’t know when a cause ends unless there’s an effect at the end of it. In order to create a new cause and effect condition, you would want to continue below the previous line. Note that Dragonspeak runs commands in order from top to bottom, so in the case of two conflicting lines, the last line will be the one that the dream engine runs. This won’t matter so much until you get into much more complex Dragonspeak scripts not covered in this tutorial.
To get started, head to the Dragonspeak > Run DS Editor option in your menu. On launch the program will ask which version you prefer - I 100% recommend using the newer Dragonspeak Constructor over the original DS editor. It will look something like below (note that the editor theme can be customized somewhat).
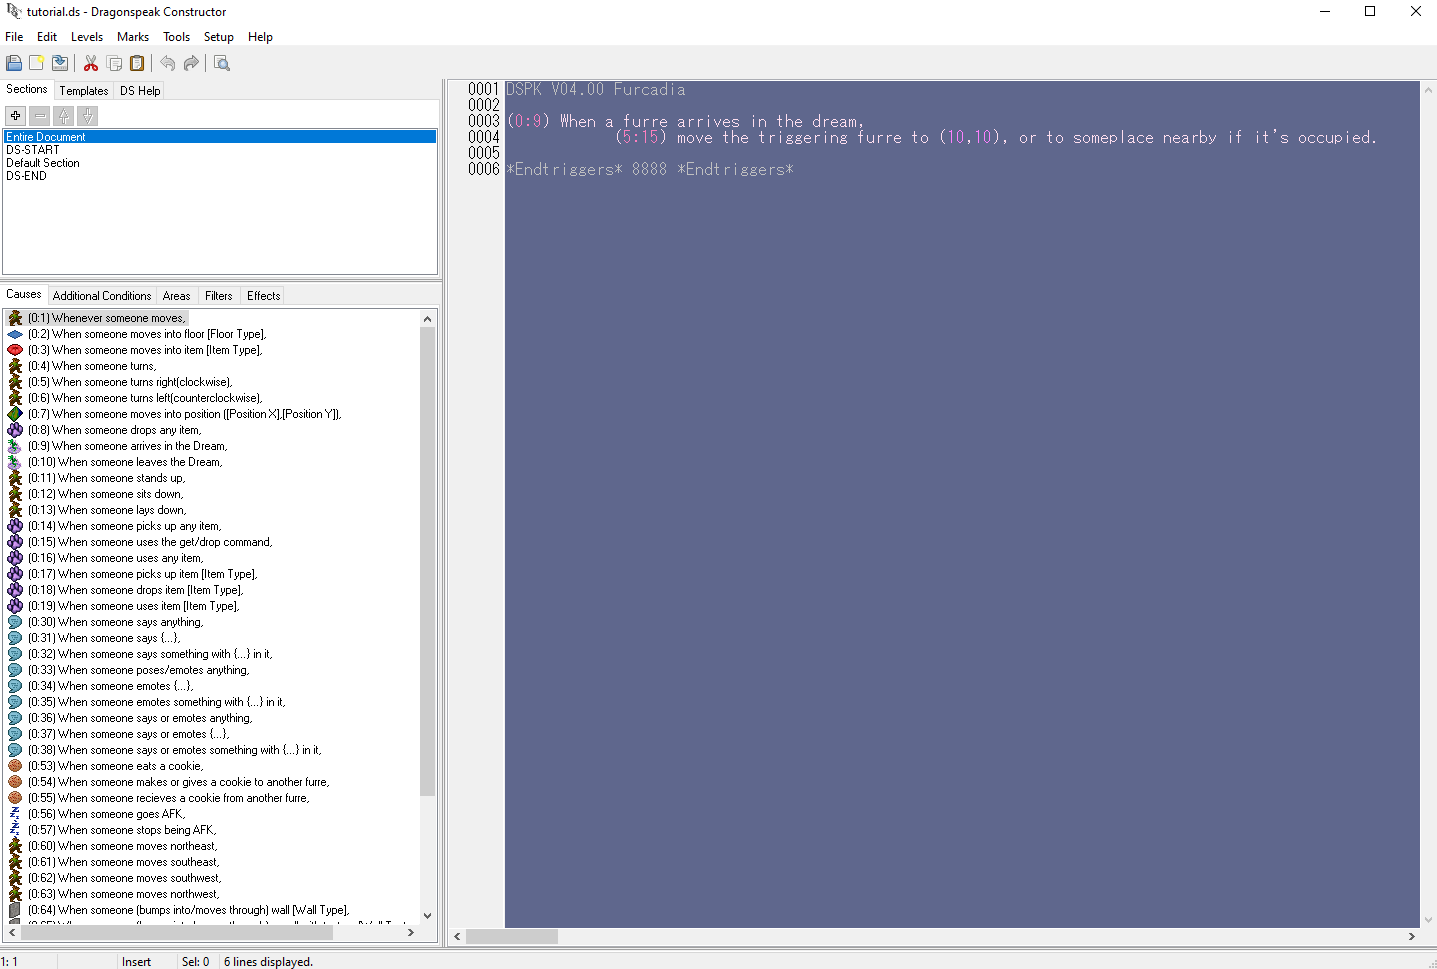
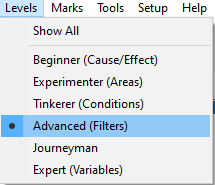
I also recommend setting your levels in the "Levels" menu to Advanced just for the sake of seeing all the lines needed for this tutorial - selecting a level will hide any DS lines above that level. This can be changed at anytime so feel free to browse around.
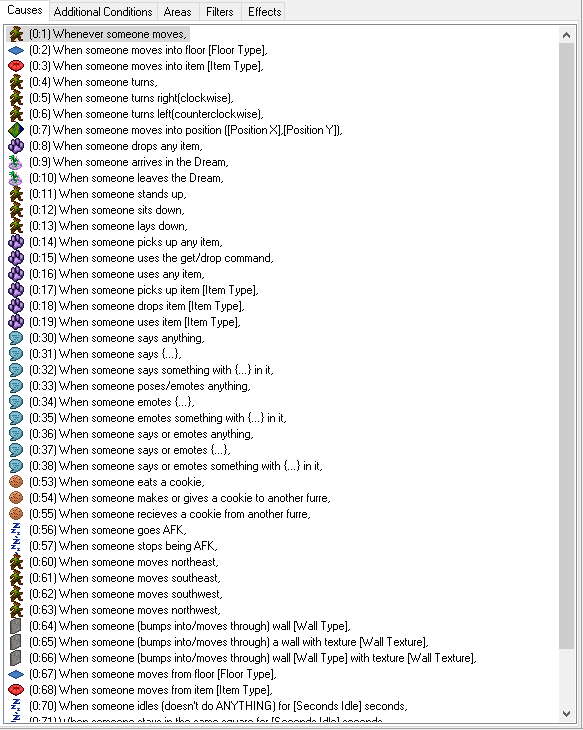
The next area to get familiar with is the DS lines tab - this is where you will find every line you need. To use these lines, just double click to paste them in your script.
First we’re going to want to change the starting coordinate for anyone who enters the dream. By default it’s (10,10), but that won’t always work. I decide which coordinates I need by hovering my cursor over the tile I want to be the starting point, and look at the Cursor coordinates on the top of the dream editor. As a shortcut you can Ctrl+Left Click on the tile to copy the coordinates, then paste them in the DS editor.
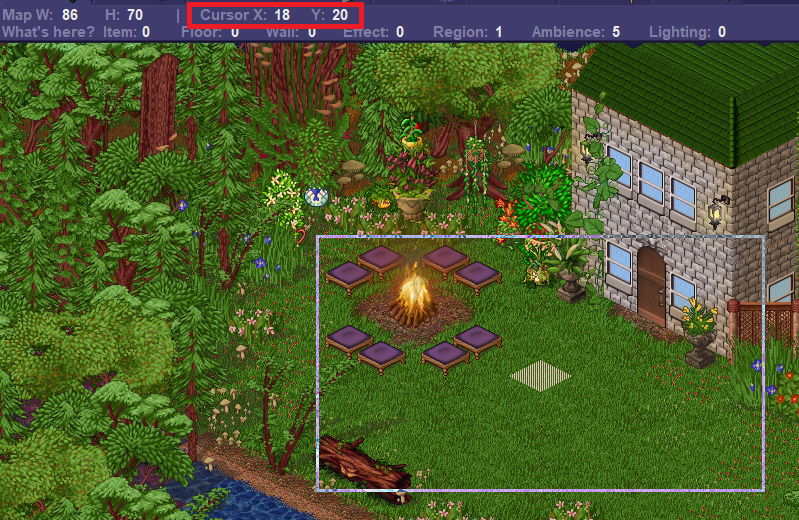
(0:9) When a furre arrives in the dream,
  (5:15) move the triggering furre to (18,20), or to someplace nearby if it's occupied.
Next let’s add in a way for the player to walk into the building. We’ll want to use this line:
(0:7) When someone moves into position (#,#),
(Another way to search for lines quickly is by CTRL+SHIFT+F btw!) And then, the same effect line as before! It will look something likeeee:
* From outside to inside
  (0:7) When someone moves into position (22,16),
    (5:15) move the triggering furre to (62,18), or to someplace nearby if it's occupied.

* From inside to outside
   (0:7) When someone moves into position (62,19),
    (5:15) move the triggering furre to (22,17), or to someplace nearby if it's occupied.
To summarize, when someone moves into the door from the outside, move them inside. When someone steps out of the room, move them infront of the door outside. You can use these lines to create a teleportation station anywhere :)
